Installing a heated towel rail sounds simple enough. Mount it to the wall, connect the power, and you’re done. Except in practice, mistakes show up fast — and most of them aren’t obvious until months later when you’re dealing with callbacks, warranty claims, or an electrician bill that dwarfs the cost of the unit itself.
This guide covers the most common installation mistakes we’ve seen across residential and commercial projects, and what actually needs to happen instead.
Bottom line: Most installation failures come down to three things: wrong location, skipped electrical prep, and ignoring the manufacturer’s spec sheet. Fix those three and you’re in good shape.
Mistake 1: Installing Without Checking the Electrical Circuit First
This is the most common one. People buy a heated towel rail, get excited, mount it on the wall, and then discover the circuit is already maxed out or the wiring isn’t suitable for a bathroom heater.
What actually needs to happen:
- Check that the circuit can handle the additional load (most 150W towel rails draw less than 1 amp, but verify anyway)
- Confirm the wiring is rated for bathroom use — standard lighting circuit wiring may not be adequate
- For hardwired units, you need a dedicated circuit or at least a circuit that isn’t shared with high-draw appliances
- If you’re in the UK or Europe, the circuit must be protected by a 30mA RCD (residual current device)
What this mistake costs: Rewiring a bathroom circuit after the fact is disruptive and expensive. Budget £300-£800 for corrective electrical work if you skip this step.
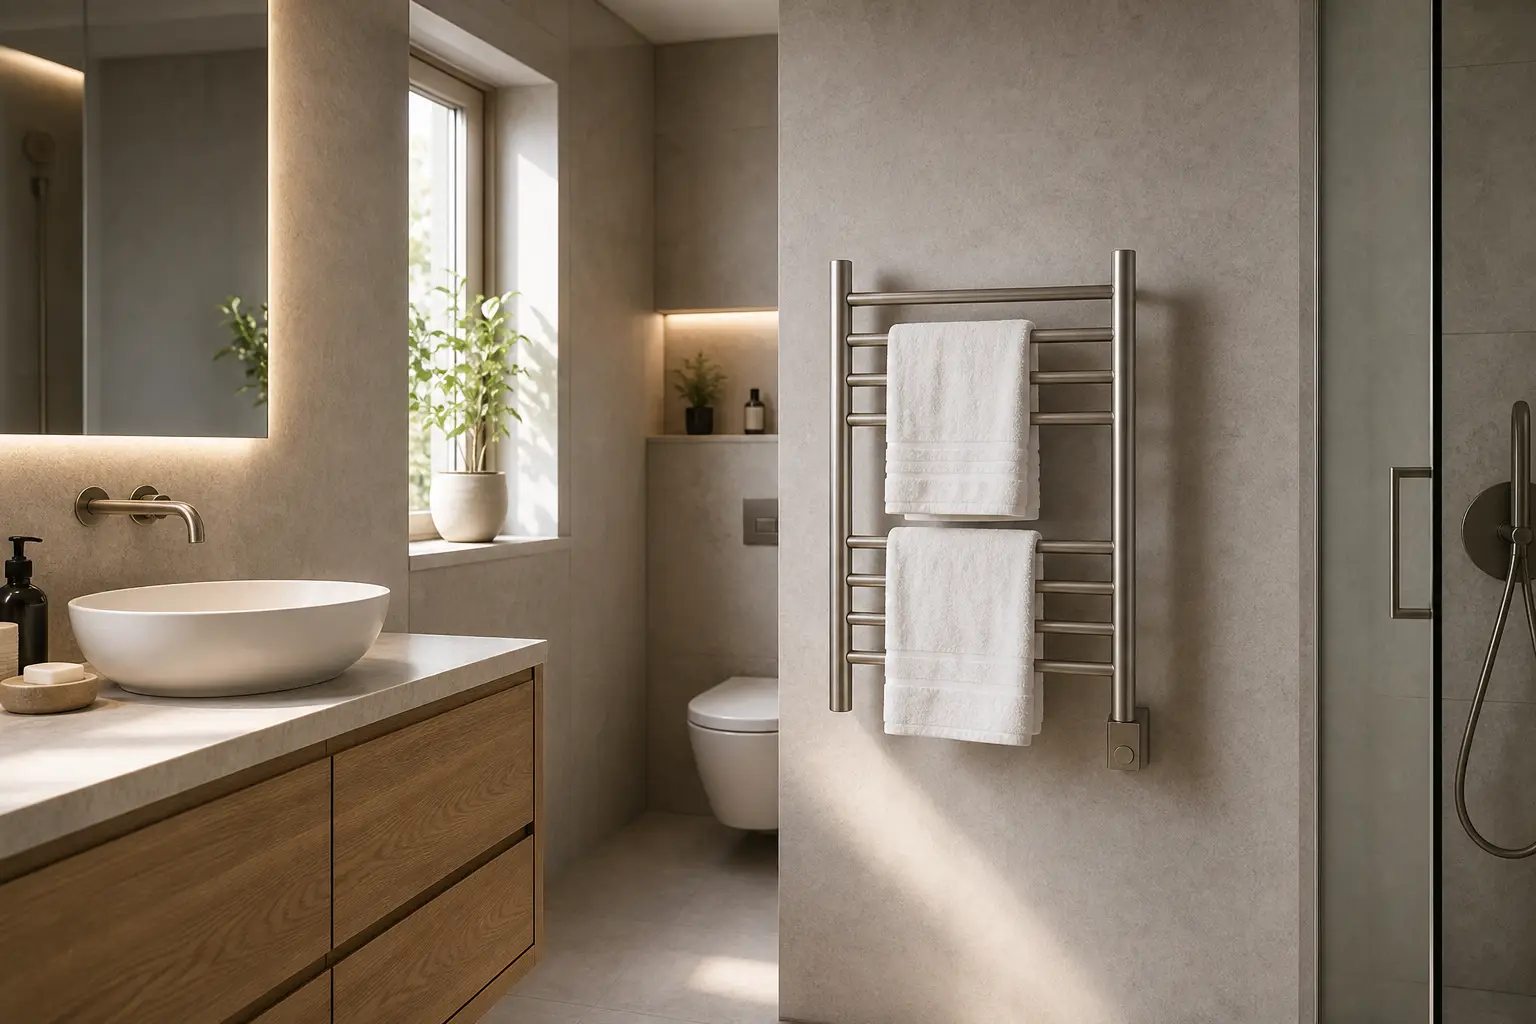
Mistake 2: Putting It in the Wrong Location
The towel rail looks great above the toilet. Except that’s usually the worst location in a bathroom — it’s far from the shower, towels don’t get used there, and the heat rises away from where you actually need it.
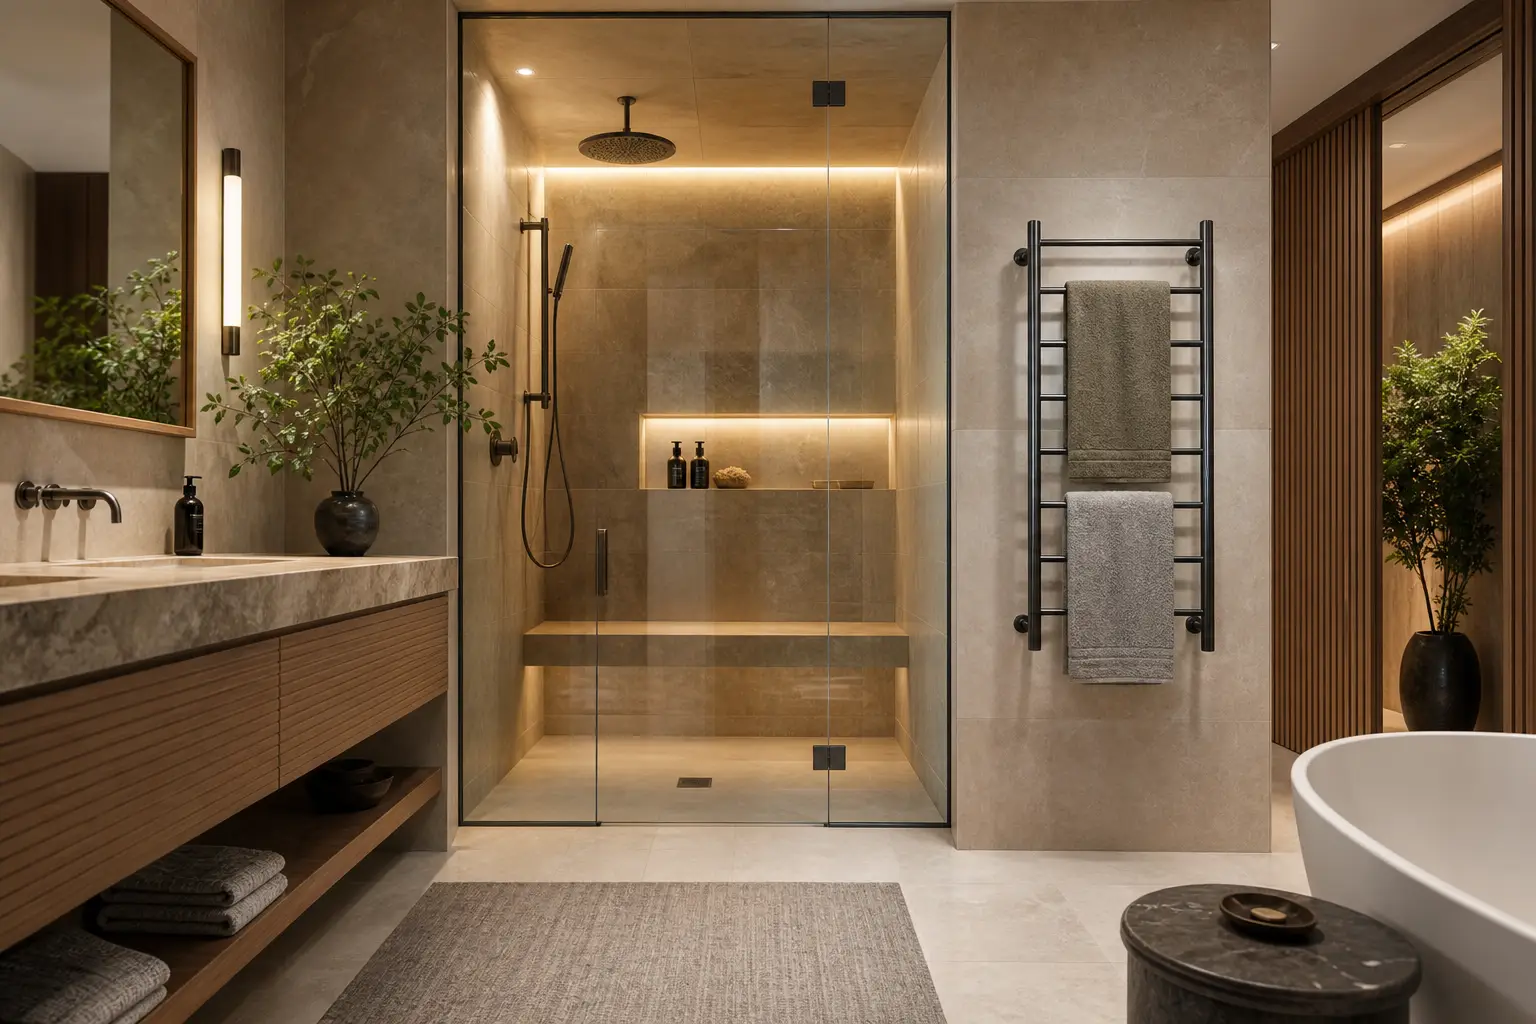
Better locations:
– Next to the shower or bath, within easy reach
– Near the vanity, where you’re drying hands
– On a wall that gets natural light (moisture evaporates faster)
Worse locations:
– Above a toilet (heat rises away from the user)
– In a corner that stays damp
– On an external wall in a cold climate (more heat loss)
Also check the manufacturer’s clearance requirements. Most heated towel rails need minimum clearances: typically 60cm from water sources, and adequate airflow around the rails for heat to circulate.
Mistake 3: Skipping the Wall Studs or Using the Wrong Fixings
Heated towel rails are heavier than they look, especially when filled with oil or when the heating element adds weight. Drywall anchors are not a long-term solution for a unit that will be loaded with wet towels day after day.
What actually works:
– Always anchor to wall studs where possible
– Use the fixings specified by the manufacturer (they’ll tell you what weight rating the mounting hardware supports)
– For tiled walls, use appropriate wall plugs and ensure the tile isn’t providing the structural support — it’s the substrate behind it that matters
– Check the weight capacity: a 6-bar heated towel rail filled with water can weigh 15-20kg
Warning sign: If the fixings that came in the box look flimsy, upgrade them. The ones in the box are usually the minimum spec for a bare unit — not a loaded one with wet towels.
Mistake 4: Hardwiring Without a Timer or Switch
This one is specifically for hotel and hospitality spec, but it applies to residential too. An always-on heated towel rail is wasteful. In a hotel with 100 rooms, that’s 100 towel rails running 24/7 whether guests are there or not.
The solution is straightforward: specify a unit with a timer, or have your electrician wire it through a timer switch on the circuit. For residential, a simple 24/7 plug-in timer costs £15-£30 and pays for itself in a few months. For commercial projects, integrate with the building management system (BMS) if one exists.
Mistake 5: Not Understanding the Difference Between Hardwired and Plug-In
This trips up a lot of first-time buyers.
Plug-in units:
– Come with a standard 3-pin plug
– Can be installed by anyone (no electrician needed for the electrical connection)
– Visible cord — less clean aesthetic
– Suitable for: renters, temporary installations, standalone bathrooms where aesthetics aren’t critical
Hardwired units:
– Connected directly to the electrical circuit with no visible cord
– Requires a qualified electrician for installation
– Clean, permanent look
– Required for: hotel rooms, high-end residential, any property where a visible cord would look out of place
The mistake: Ordering a hardwired unit when you need a plug-in (or vice versa), or specifying a hardwired unit for a bathroom where the circuit isn’t prepared for a fixed bathroom heater.
If you’re not sure which you need, ask before you buy. The return shipping on a unit that was delivered as hardwired when you needed plug-in is not cheap.
Mistake 6: Ignoring IP Rating for Bathroom Zones
Bathrooms are divided into electrical zones, and the IP (Ingress Protection) rating of your heated towel rail determines where it can legally be installed.
| Zone | What’s Allowed |
|---|---|
| Zone 0 (inside shower/tub) | IP67 — not a towel rail location |
| Zone 1 (above shower to 2.25m) | IP65 — not recommended for towel rails |
| Zone 2 (60cm from Zone 1) | IP44 — acceptable for most towel rails |
| Outside zones | IP44 minimum |
For most UK, Australian, and European bathrooms, IP44 is the minimum. Installing an IP20 unit in a wet environment is both a safety hazard and a building code violation.
Mistake 7: Installing at the Wrong Height
Too high and the heat rises above towel level. Too low and it blocks access or creates a burn risk for children.
Standard mounting height guidance:
– Center of the rail at approximately 120-150cm from the floor (adjust for user height)
– Bottom of the rail at least 60cm above the finished floor level
– For hotels, check with the interior designer — often the spec is tied to tile joint lines or furniture heights
The actual answer is to check the room context. In a family bathroom with children, mount it lower so they can reach it. In a guest bathroom used primarily by adults, the standard mounting height works fine.
Mistake 8: Not Pressure Testing After Installation
For heated towel rails connected to a hot water (hydronic) system, the connection points need to be pressure tested before the system is put into full operation.
What to check:
– Are all compression fittings properly tightened?
– Has the system been filled and pressure tested to 1.5x the working pressure?
– Are there any visible leaks at the valves, T-joints, or connection points?
– Is the expansion vessel charged correctly (for sealed systems)?
For electric heated towel rails (not connected to a water system), this step doesn’t apply — but you should still verify the electrical connections are tight and test the unit before tiling or sealing around it.
Mistake 9: Forgetting to Account for Heat Loss in Cold Walls
If you’re installing on an external wall, particularly in a cold climate, the wall behind the towel rail will be colder than the rest of the room. This means more heat loss, lower efficiency, and potentially condensation problems.
Solutions:
– Install foil-backed insulation board behind the towel rail if the wall construction allows
– For solid brick walls in older properties, the heat loss is more significant — consider a higher-wattage unit to compensate
– Ensure adequate ventilation in the bathroom to manage humidity
Mistake 10: Not Reading the Spec Sheet Before Buying
This sounds obvious, but it’s remarkable how many specification errors come from buyers who never opened the spec sheet.
Before you buy, confirm:
– The unit’s wattage is appropriate for your bathroom size (use the formula: m3 × temperature rise × 3.1)
– The IP rating matches the installation zone
– The dimensions fit the available wall space (check the projection from the wall too — some rails stick out 15cm or more)
– The heating type (electric vs hydronic) matches your installation
– The voltage matches your market (240V UK/AU vs 120V US)
A 10-minute read of the spec sheet can prevent a very expensive mistake.
The Installation Checklist
Before and during installation:
- [ ] Electrical circuit assessed and adequate for the load
- [ ] Wiring is bathroom-rated and protected by appropriate RCD/RCB
- [ ] Wall studs located and mounting points marked
- [ ] Fixings appropriate for the loaded weight of the unit
- [ ] Unit positioned in the right location (not above toilet, near water source, at correct height)
- [ ] IP rating matches the bathroom zone
- [ ] Hardwired or plug-in confirmed to match your installation
- [ ] Timer or switch specified (not just an on/off)
- [ ] Clearance distances from water sources confirmed
- [ ] For hydronic systems: pressure tested before use
- [ ] Spec sheet reviewed before purchasing
When to Call a Professional
Simple plug-in towel warmers can be installed by a competent DIYer. However, you should use a qualified electrician or plumber in these situations:
- Hardwired electrical connection (always — this is not optional)
- Connection to a central heating (hydronic) system
- Any work in Zones 0, 1, or 2 of a bathroom
- Installing in a rental property (landlord requirements may apply)
- Commercial or hospitality installation (permits and compliance may be required)
Final Thoughts
Most installation problems are preventable with basic preparation. Read the spec sheet before you buy, check the electrical circuit before you install, and don’t skip the timer. Those three things alone will save you more grief than any other piece of advice in this guide.
The heated towel rail is one of those products that looks simple but has real engineering in it. Treat the installation with the same attention you’d give to any other bathroom fixture and it’ll serve you well for years.