Just bought a heated towel rail but not sure how to install it? What’s the difference between surface-mounted and recessed installation? This guide covers everything you need to know!
Table of Contents
- Introduction to Installation Methods
- Surface-Mounted vs. Recessed: Key Differences
- Surface-Mounted Installation Step-by-Step
- Recessed Installation Step-by-Step
- 5 Things to Check Before Installation
- FAQ
- Summary & Recommendations
Introduction to Installation Methods
The first decision after purchasing a heated towel rail is choosing your installation method.
Surface-mounted and recessed are the two most common installation types. Choosing the wrong one can affect both aesthetics and functionality.
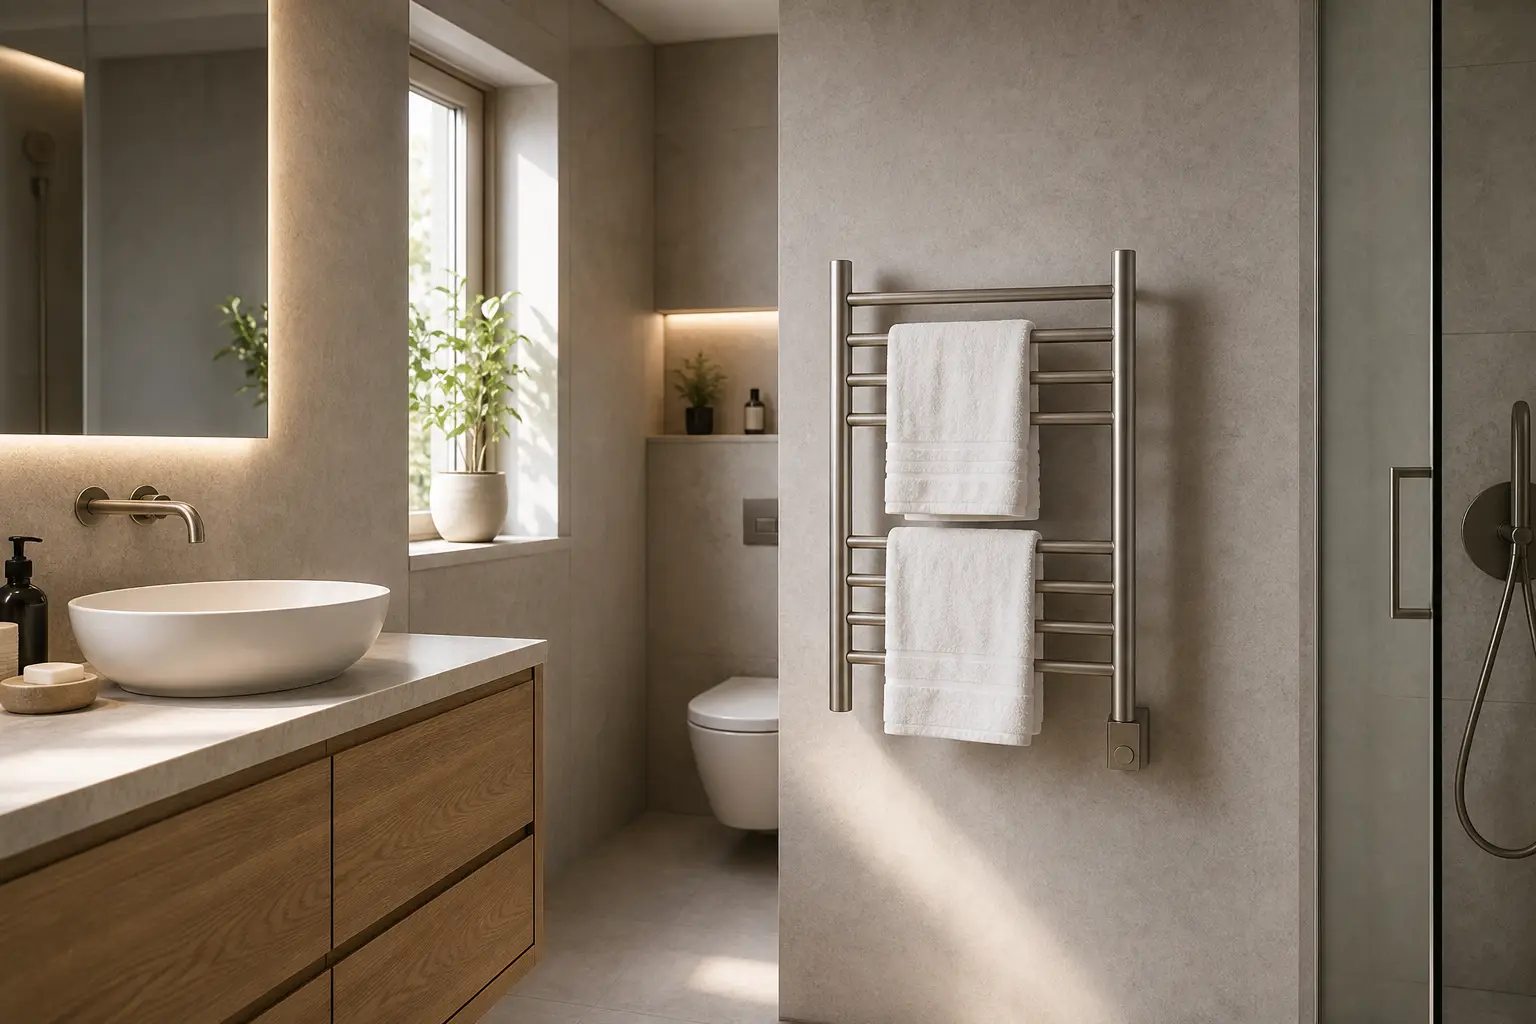
What is Surface-Mounted Installation?
Surface-mounted installation involves fixing the heated towel rail directly to the wall surface, with the power cable connecting to a nearby socket or power point.
Key Features:
- Simple installation, can be done after renovation
- No pre-installation wiring required
- Lower cost
- Best for: Existing bathrooms, rental properties, temporary setups
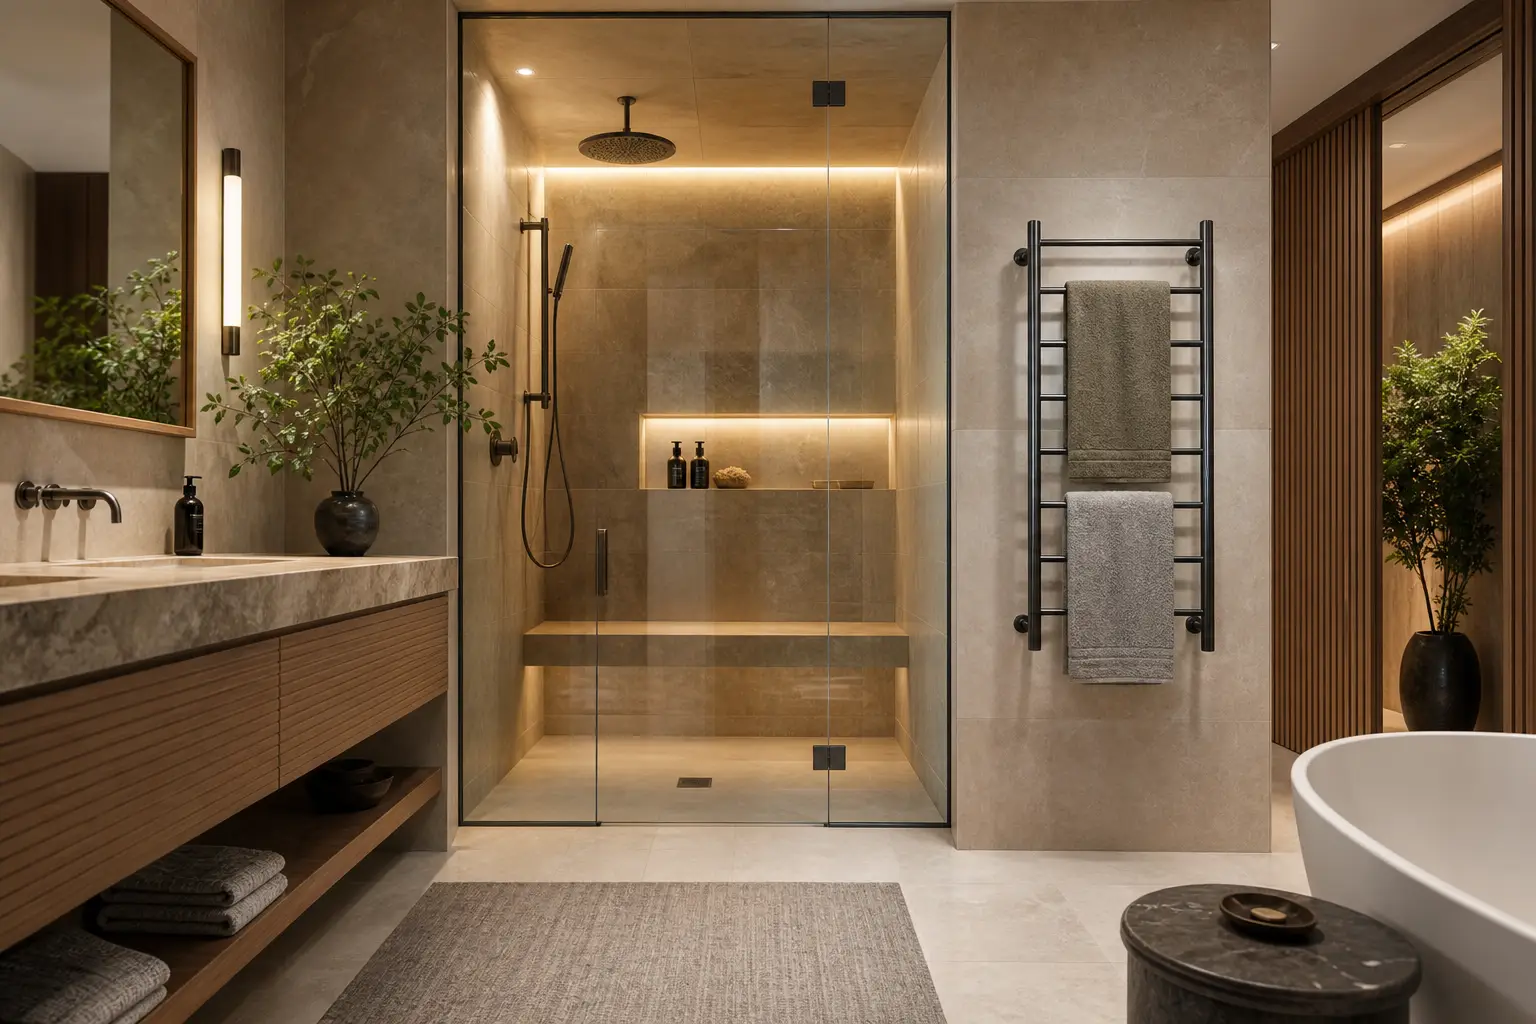
What is Recessed Installation?
Recessed installation requires pre-wiring during the construction or renovation phase. The power connection is hidden inside the wall, with only the mounting brackets visible.
Key Features:
- Clean, minimalist appearance with no visible wiring
- Must be planned during construction
- Higher cost (includes pre-wiring)
- Best for: New builds, renovations, minimalist designs
Surface-Mounted vs. Recessed: Key Differences
Feature Surface-Mounted Recessed Installation Timing Anytime Must be planned during construction Aesthetics Visible power cord Completely hidden, minimalist Installation Difficulty Easy, DIY-friendly Complex, requires electrician Cost Lower Higher (includes pre-wiring) Flexibility Can be moved/relocated Fixed position, difficult to change Maintenance Access Easy May require wall access Surface-Mounted Installation Step-by-Step
Tools Required
- Drill + 6mm drill bit
- Spirit level
- Phillips screwdriver
- Pencil, tape measure
- Wall plugs and screws (usually included)
Installation Steps
Step 1: Determine Mounting Position
- Height: Recommend 1.2-1.5m from floor (adjust for household height)
- Location: Near towel usage areas, e.g., beside vanity, near bathtub
- Ensure proximity to power outlet
Step 2: Measure and Mark
- Measure the mounting hole spacing on the towel rail base
- Mark drill points on wall with pencil
- Use spirit level to ensure marks are horizontal
Step 3: Drill and Mount
- Drill holes at marked positions (depth approx. 4-5cm)
- Insert wall plugs
- Align towel rail base with screw holes
- Secure with screws
Step 4: Connect Power
- Plug into nearby socket
- Check power cord isn’t pinched or bent
- Ensure firm plug connection
Step 5: Test Operation
- Switch on power
- Wait 5-10 minutes, check heating
- Inspect for unusual heating or odors
Recessed Installation Step-by-Step
Pre-Construction Preparation
During electrical rough-in:
- Select Model: Choose heated towel rail in advance, confirm power connection location
- Install Junction Box: Install 86-type recessed box in wall
- Run Wiring: Run dedicated 2.5mm² cable from electrical panel
- Height Planning: Typically 1.2-1.5m from floor
Installation Steps
Step 1: Install Mounting Bracket
- Fix manufacturer’s mounting bracket to junction box
- Ensure bracket is flush with wall surface
- Use spirit level to ensure horizontal alignment
Step 2: Wall Finishing
- Tile or paint around mounting bracket
- Ensure bracket surface remains clean
Step 3: Mount Towel Rail
- Align heated towel rail connection with mounting bracket
- Tighten fixing screws per instructions
- Check secure and level mounting
Step 4: Power Test
- Switch on power
- Test heating function
- Check wall area for abnormal heating
5 Things to Check Before Installation
1. Wall Load Capacity
A loaded heated towel rail with wet towels can weigh 5-10kg. Ensure installation on solid wall or reinforced plasterboard.
2. Power Specifications
- Voltage: Confirm 110V or 220V
- Power: Standard sockets support 2500W; high-power units may need dedicated circuit
- Grounding: Must have earth connection for safety
3. IP Rating
Bathroom environments are humid. Choose heated towel rails with IP24 or higher rating. Install away from direct water spray zones.
4. Safety Clearances
- Maintain 60cm+ from shower/bathtub edge
- Maintain 30cm+ from faucets
- Avoid installing behind doors (interferes with operation)
5. Maintenance Access
Ensure 10cm+ clearance around towel rail for future cleaning and maintenance.
FAQ
Q1: Can surface-mounted be converted to recessed?
Yes, but requires renovation. Recessed installation needs pre-wiring; retrofitting requires wall removal and rewiring, making it costly.
Q2: Can I install a heated towel rail myself?
Surface-mounted: Yes, basic DIY skills sufficient. Recessed: Recommend professional electrician, involves in-wall wiring and safety codes.
Q3: How soon after installation can I use it?
Surface-mounted: Use immediately. Recessed: Wait for wall to fully dry (24-48 hours after tiling).
Q4: Does a heated towel rail need grounding?
Absolutely required! Bathroom electrical safety is critical—never use without proper earth connection.
Q5: Does installation location matter?
- Recommended: Beside vanity, above bathtub, above toilet
- Avoid: Directly opposite shower, under windows, tight corners
Q6: Can old houses have heated towel rails?
Yes, choose surface-mounted. Any home with nearby power outlets can add surface-mounted units without wall damage.
Summary & Recommendations
Surface-Mounted or Recessed?
Your Situation Recommended Choice Existing bathroom / Rental Surface-Mounted New build / Renovation Recessed Minimalist aesthetic priority Recessed Budget-conscious Surface-Mounted May move soon Surface-Mounted Installation Tips
- Safety First: Bathroom electrics must be grounded—hire a professional if unsure
- Plan Ahead: New builds should confirm model and location early
- Keep Manual: Installation steps and warranty info are inside
- Test Before Regular Use: Observe for 30 minutes on first power-up
A properly installed heated towel rail doesn’t just dry towels—it brings warmth to your bathroom on cold winter days. Choose the right installation method for your situation and enjoy a more comfortable bathroom experience!
Related Articles:
Why Humid Regions Need Heated Towel Rails Even More
Heated Towel Rail Buying Guide: Sizes, Power, Materials Explained
Stainless Steel vs. Aluminum Heated Towel Rails: Which is Better?