A plug-in heated towel rack takes about 30 minutes and a drill. A hardwired one takes an hour or two and requires an electrician. Which route you pick depends on your wall setup, budget, and how clean you want the finished look to be.
I’ve talked installers through both methods more times than I can count. Neither is rocket science. But pick the wrong approach for your bathroom and you’ll end up with a cord snaking across tiles or a bill for drywall repair that wasn’t in the budget. Here’s what you actually need to know before you buy.
Plug-In: The Easy Way
What You Need
- A heated towel rack with a grounded plug
- A drill with masonry or tile bits
- Wall anchors and screws (usually included)
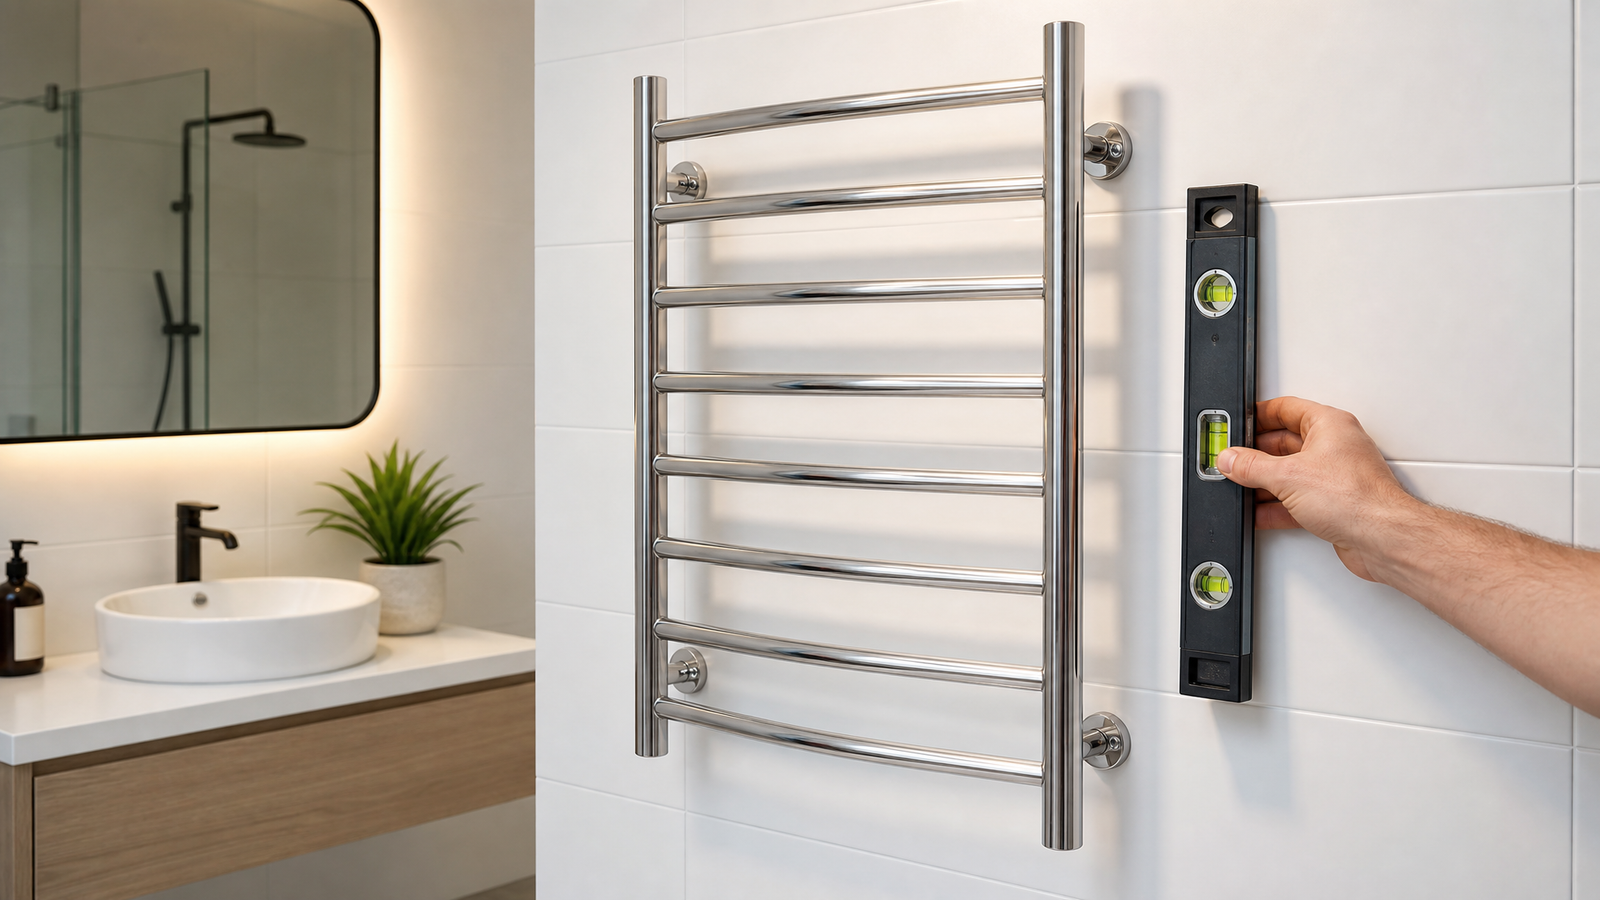
- A spirit level
- 15–30 minutes of patience
How to Do It
Find your spot. You need an outlet within about 1.5 meters. Don’t mount directly above a tub or shower unless the unit’s IP rating allows it.
Mark the holes. Hold the bracket against the wall, check it’s level, and pencil in the screw points.
Drill and anchor. Drill at your marks. Use wall anchors if you’re not hitting a stud. Tile or brick needs the right bit.
Secure the bracket. Screw it in and check level again. Most people skip the second check and end up with a crooked rail.
Hang the unit. Most slot onto the bracket and lock with a set screw or clip.
Plug in and test. Use a GFCI outlet. Run it for 30 minutes to make sure it heats evenly.
The Trade-Offs
| What works | What doesn’t |
|---|---|
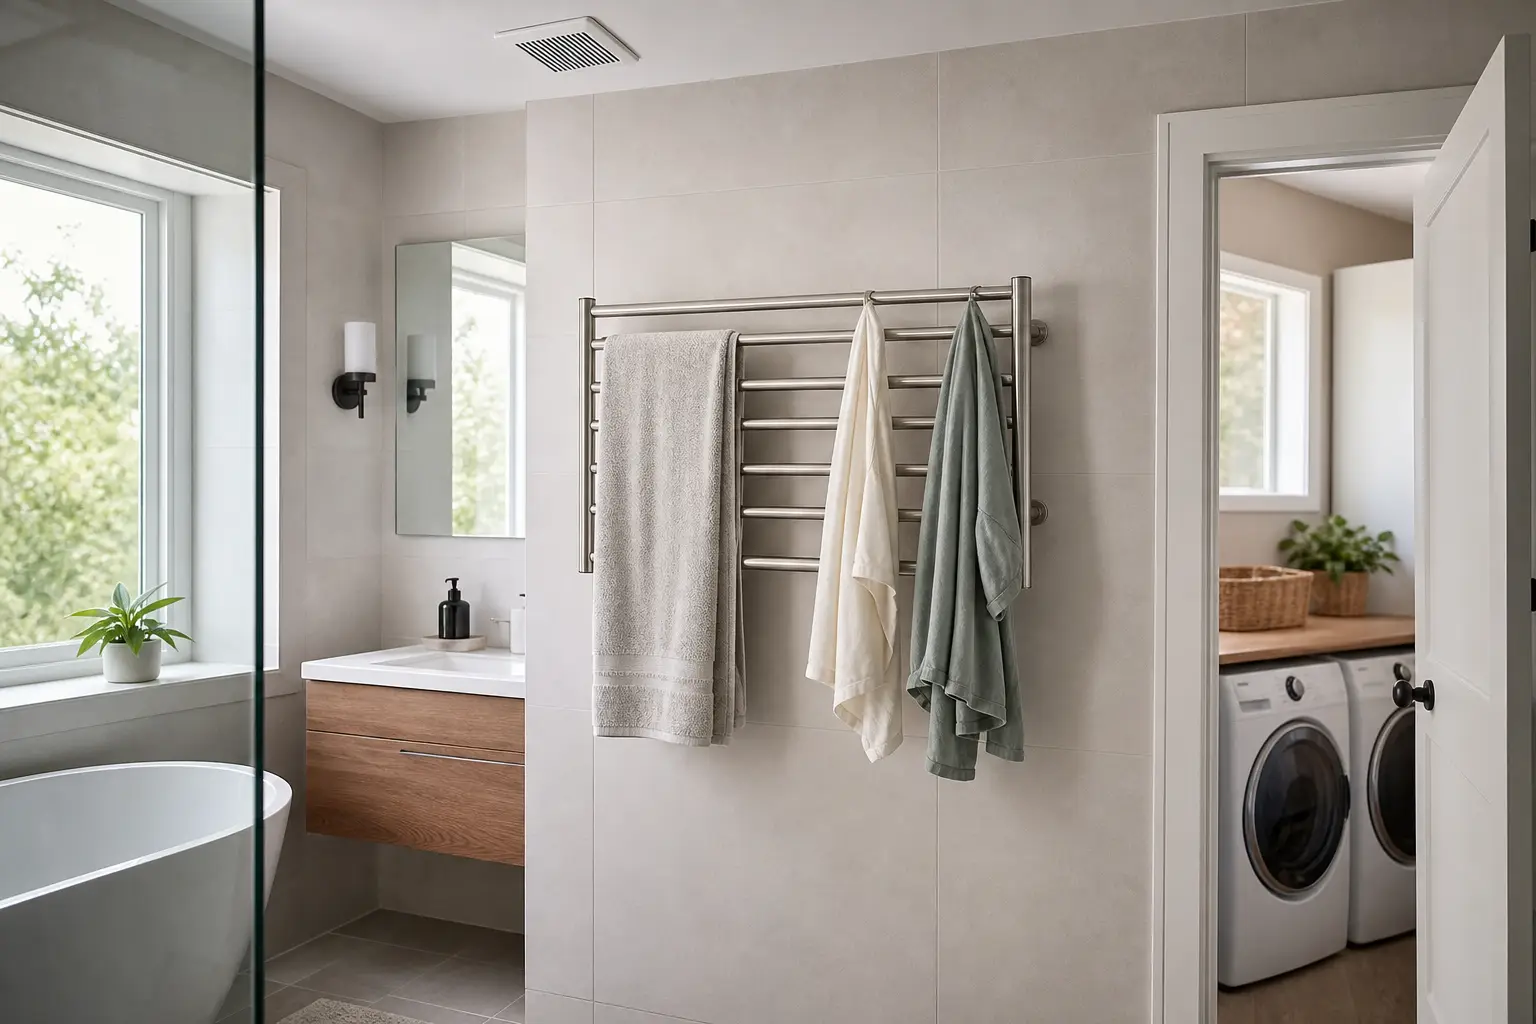
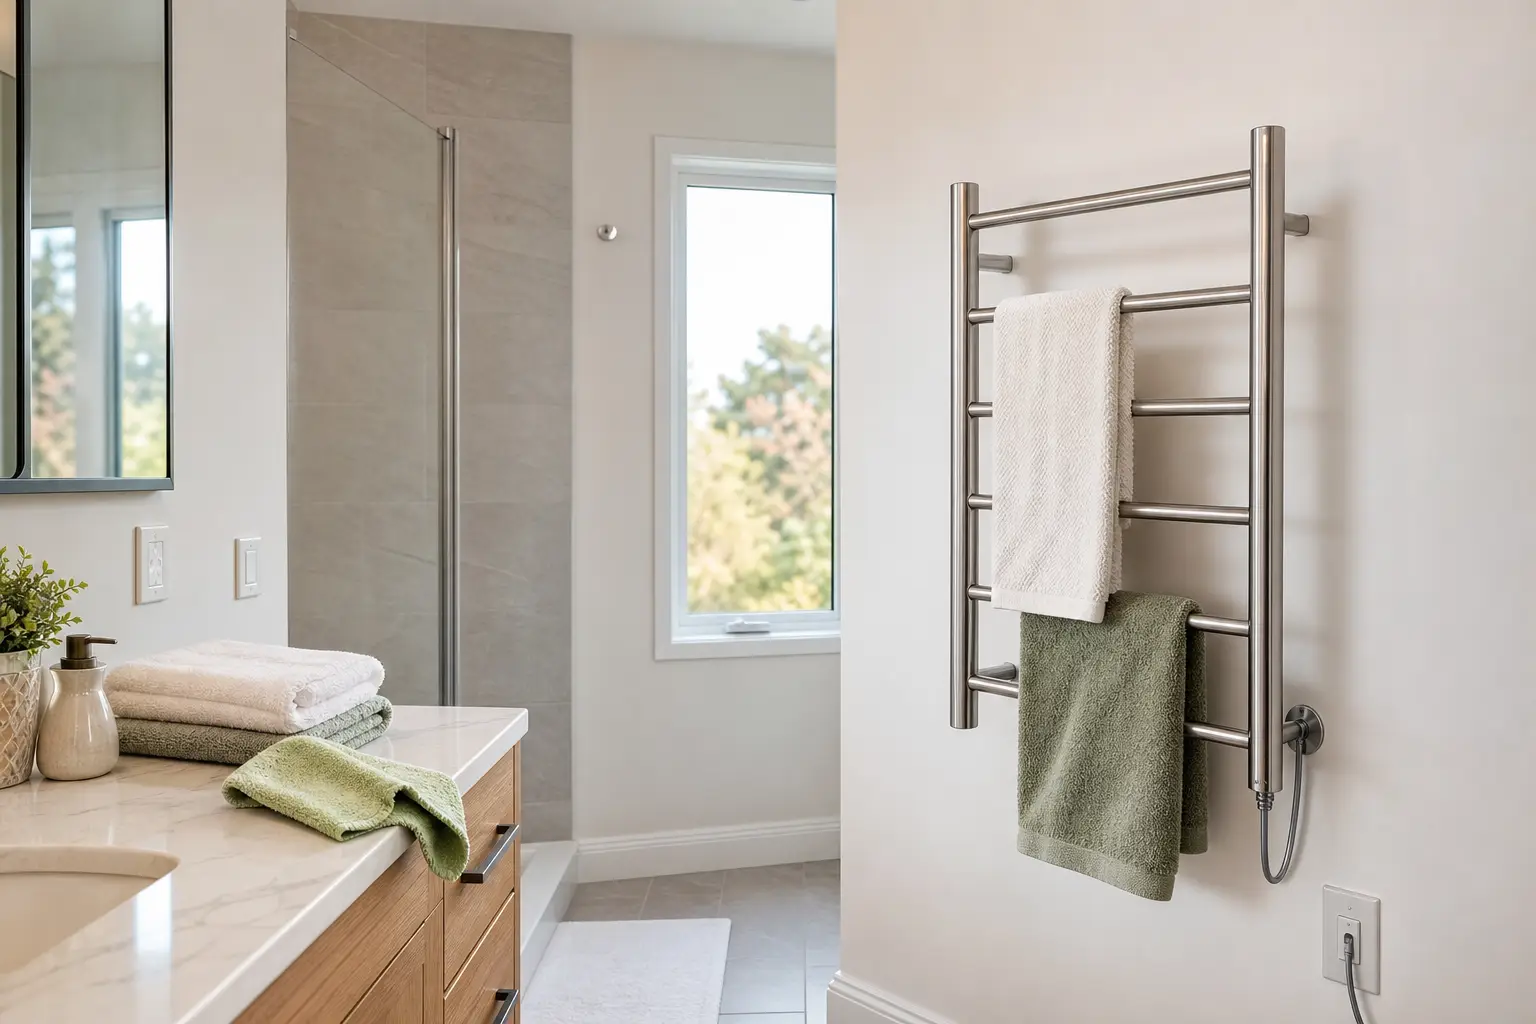
| No electrician needed | Visible cord can look messy |
| Easy to move if you redecorate | Tied to wherever your outlets are |
| Cheaper overall | Looks a bit less “built-in” |
| Good for rentals | Cord can be a trip hazard |
Hardwired: The Clean Look
What You Need
- A hardwired heated towel rack (no plug)
- An electrical junction box in the wall
- A licensed electrician
- 1–2 hours
- $150–$300 in labor costs
How to Do It
Plan the wiring. The electrician will either run a new circuit or tap into an existing bathroom circuit, depending on local code. This usually means cutting a small patch of drywall.
Fit the junction box. Recessed or surface-mounted, at the right height. Most rails sit with the bottom bar 90–120 cm off the floor.
Wire it up. The unit’s leads connect to the household supply inside the box. Most models handle 110–120V in North America or 220–240V elsewhere.
Mount the rail. Once the wiring is live and tested, the rail goes over the junction box and hides everything.
Test and sign off. The electrician checks polarity, grounding, and GFCI compliance. In some places this needs an inspection.
The Trade-Offs
| What works | What doesn’t |
|---|---|
| No visible cord | Costs more upfront |
| You can put it anywhere there’s wiring | Needs a pro to install |
| Adds to resale appeal | Pretty much permanent once fitted |
| Looks built-in | Drywall damage if you ever remove it |
Which One’s Right for You?
| Your situation | Go with |
|---|---|
| Renting | Plug-in |
| Budget under $300 total | Plug-in |
| No nearby outlet | Hardwired (or get an outlet fitted) |
| New build or renovation | Hardwired |
| Upscale bathroom fit-out | Hardwired |
| Selling soon | Hardwired (buyers like the clean look) |
Safety and Code Notes
- GFCI protection is required for bathroom circuits almost everywhere. Plug-in units need a GFCI outlet. Hardwired units need GFCI at the breaker or junction box.
- Check the IP rating. Within 60 cm of a shower or tub, you need at least IP24. In direct splash zones, go for IP44 or better.
- Weight matters. Wall anchors need to handle the rail plus wet towels. A loaded 8-bar unit can top 15 kg.
So Which Should You Actually Buy?
If you want it running by Sunday night without making a single phone call, plug-in is the obvious choice. If you’re renovating anyway and want the walls to look like a showroom, hardwired is worth the extra hassle and cost.
For developers and bulk orders, hardwired is standard in new builds. If you’re buying for retail stock, having both types covers most customers.
Need hardwired or plug-in models for your next project? We manufacture both with UL/cULus certification and supply in bulk with custom finishes. Request a catalog →